This is a sample walkthrough on how to create your very first 3D scene with ATON using sample content on your up and running instance. The first step is accessing “Shu“, a lightweight back-end for the framework, if you have launched ATON on your machine you can use: http://localhost:8080/shu/scenes/.
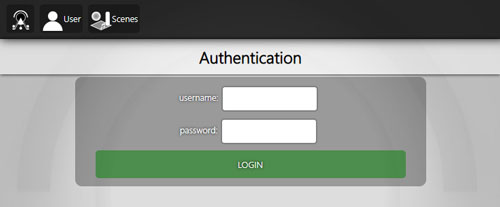
If it’s a fresh launch, you’ll have a few sample users to play with (you can find users config in config/*). You can access with username “bastet” and password “bas2020” (of course these are sample users that you’ll change on production)

Once logged in, you’ll see no scenes in your private gallery (of course, first time). Just tap on “New Scene“.
Here lets just focus on “main” node: it will hold one or more 3D models. Lets go to add 3D models input field and start typing “skyphos“, you should see a few options – pick “samples/models/skyphos/skyphos.gltf” (3D model created by D. Ferdani CNR ISPC within Innova Patrimonio). Notice this is a path to the local instance collection, you can also put there external 3D assets (public urls)!
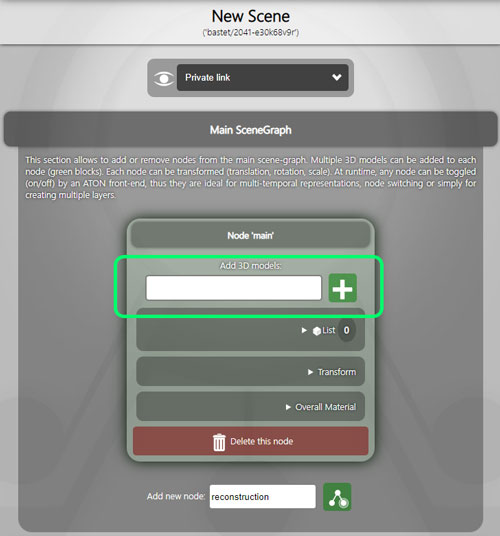
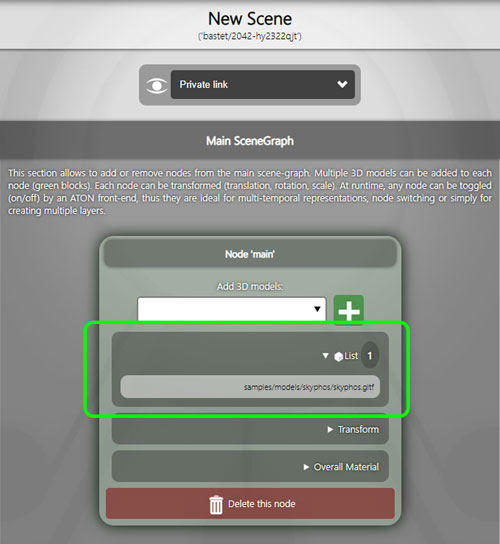
Now tap on the green plus to add the 3D model to the list (our “main” layer). You should see something like this, with the list holding one element:
Now lets go to the bottom page and just tap on “Create Scene“, you should see something like this:
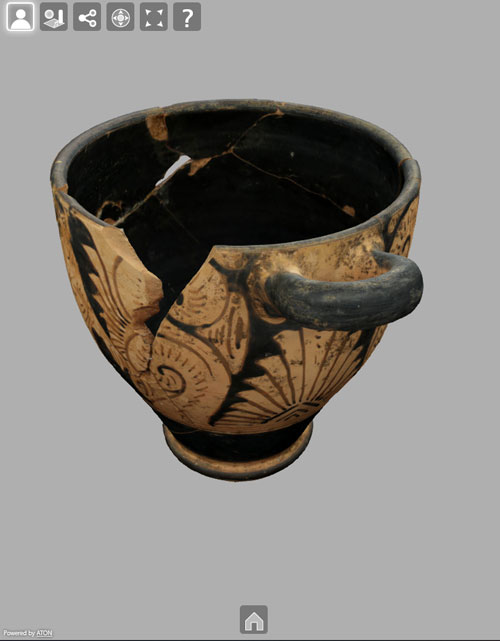
Voilà! Here is your very first 3D scene with ATON! You can also check that in your “data/scenes/bastet/” folder a new scene has been created (inlcuding the JSON descriptor).
Now lets go back to our scenes sections (http://localhost:8080/shu/scenes/):
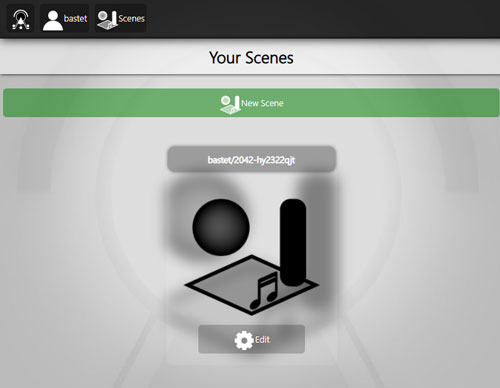
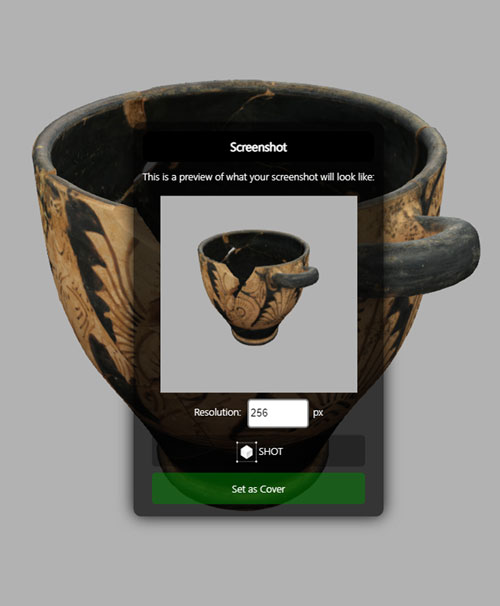
As you can see, we have now the scene listed in our private gallery. Lets tap again on the scene to open it using the official viewer to…. take a nice shot. Adjust your camera to find a good view and press ‘c’ key to open up the cover popup: choose “Set as cover“:
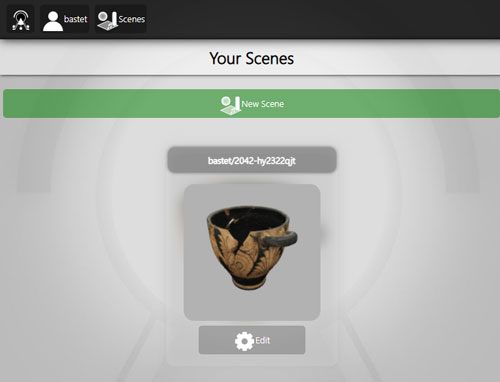
Now if you open again your private scene gallery, you’ll see your nice cover set, useful also for sharing options:
That’s it for now! You can experiment with different or multiple models, or external 3D models