This is a sample walkthrough on how to create your very first 3D scene with ATON using sample content on your up and running instance. The first step is accessing the main (landing) page and login (top right). If you followed the basic tutorial on your machine, you can also use http://localhost:8080/myscenes: the first time a login will popup:
If it’s a fresh launch, you’ll have a few sample users to play with (you can find users config in config/*). You can access with username “bastet” and password “bas2020“: of course these are sample users that you’ll change on production instance.
Once logged in, you’ll see no scenes in your gallery (first time):
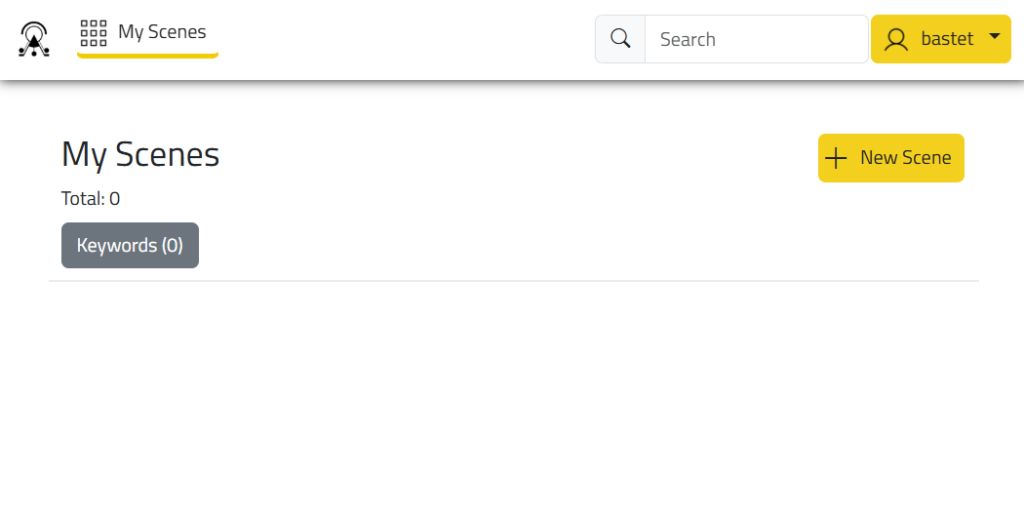
Just tap on “New Scene“. This will create a new, empty 3D scene that you can edit directly in your browser. Hathor front-end will be automatically set in editor mode (the main toolbar shows a yellow border): that means your changes to the scene are automatically saved (persistent modifications).
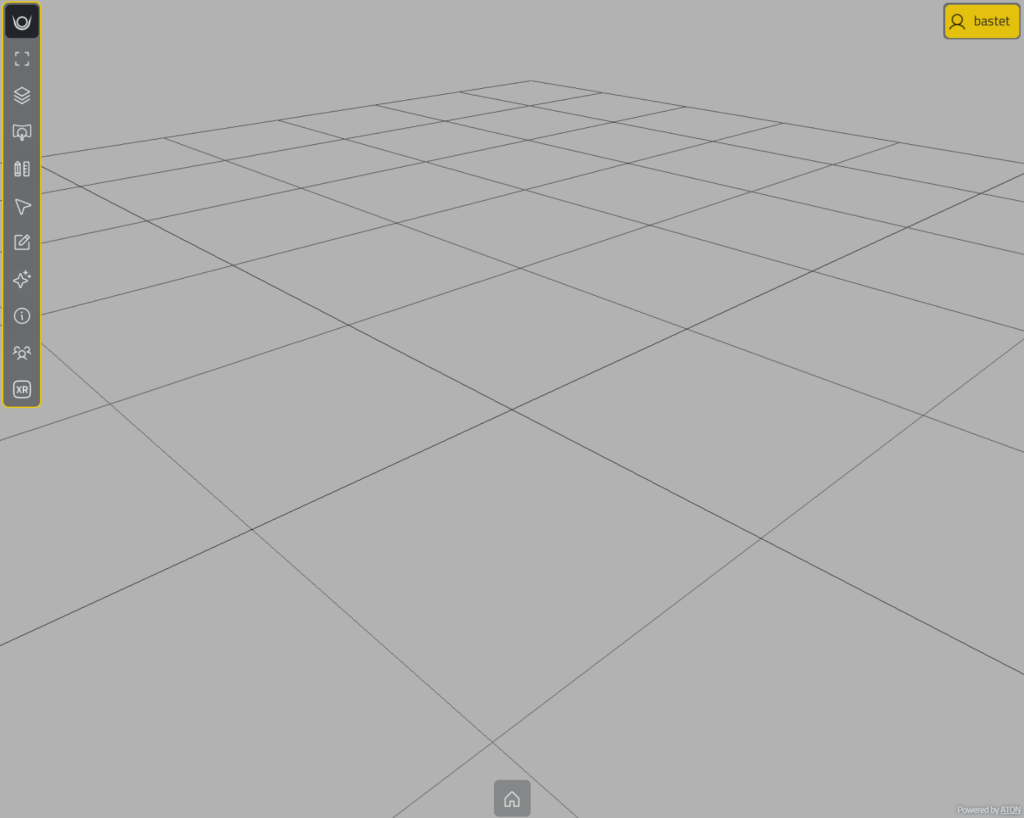
Let’s focus on adding a 3D model from the samples (or your collection).
Go to layers (or key ‘g’) on the main vertical toolbar, you’ll find a single layer called “main“. You can indeed create multiple layers or remove them as you like. To edit “main” layer, tap or click on the edit button:
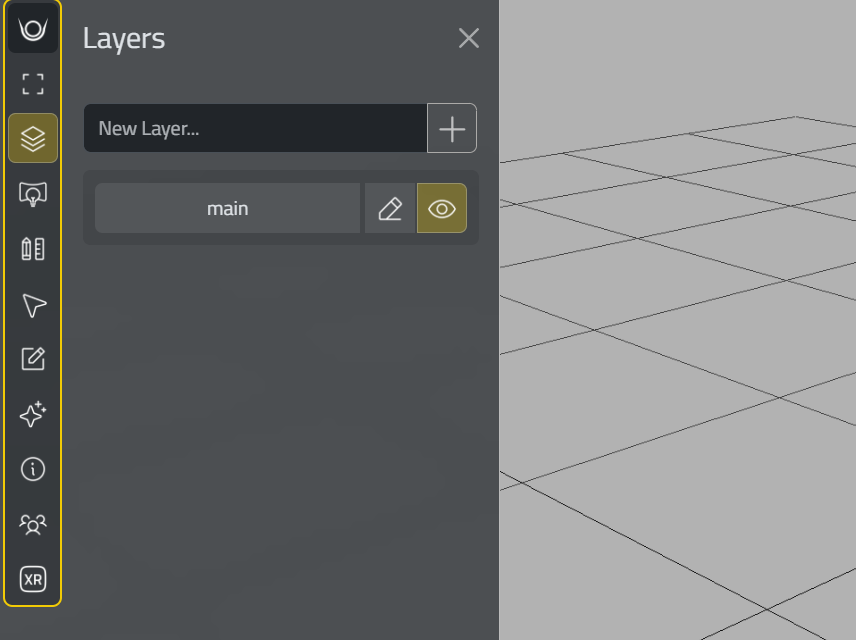
In the items section, you can add one or multiple 3D models, point-clouds or 3D gaussian splats, under the “main” layer. Let’s search the skyphos sample model (glTF) and add it to the list. You can live filter items while you type:

That’s it!
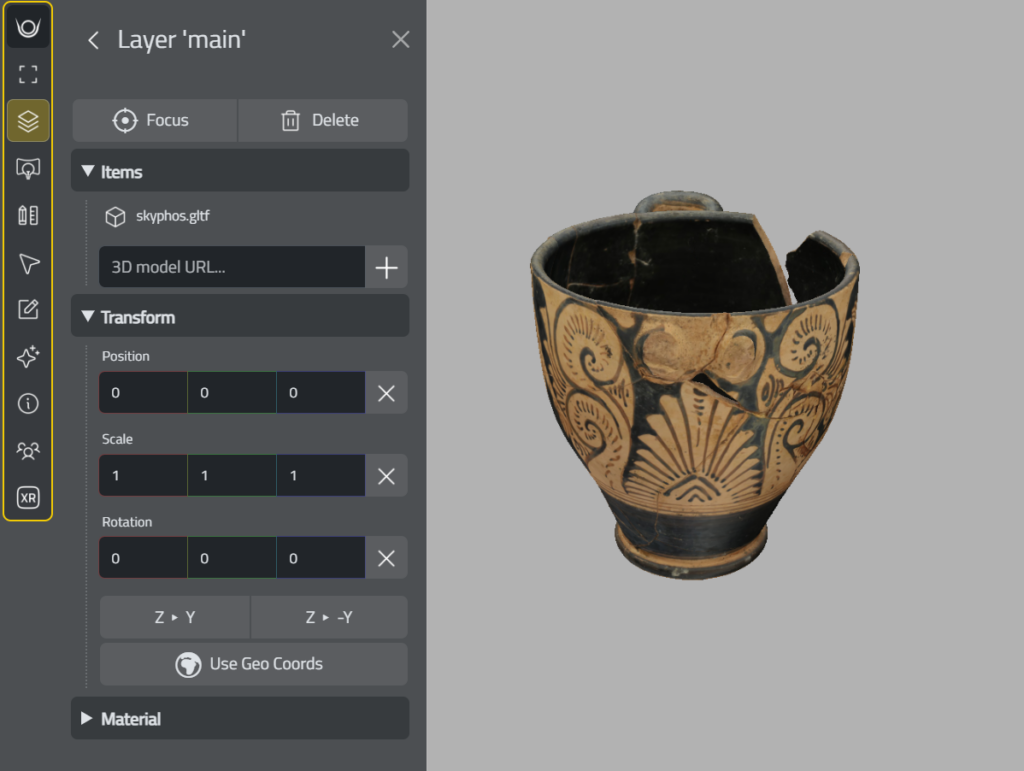
You can trasform the entire layer (via translation, rotation or scale), apply custom materials, and much more.
We can now create a cover for this scene, by simply opening the scene info panel (‘s’), and “set current view as cover”:
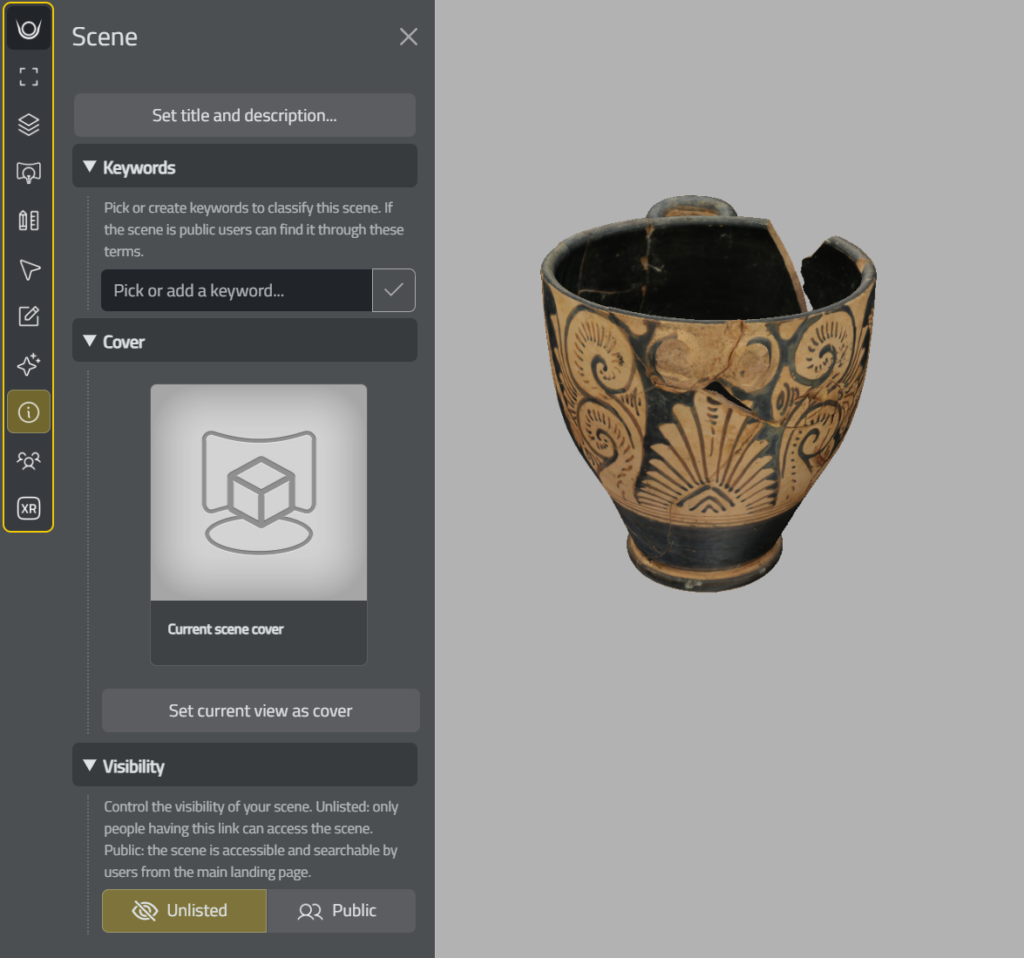
That’s it!
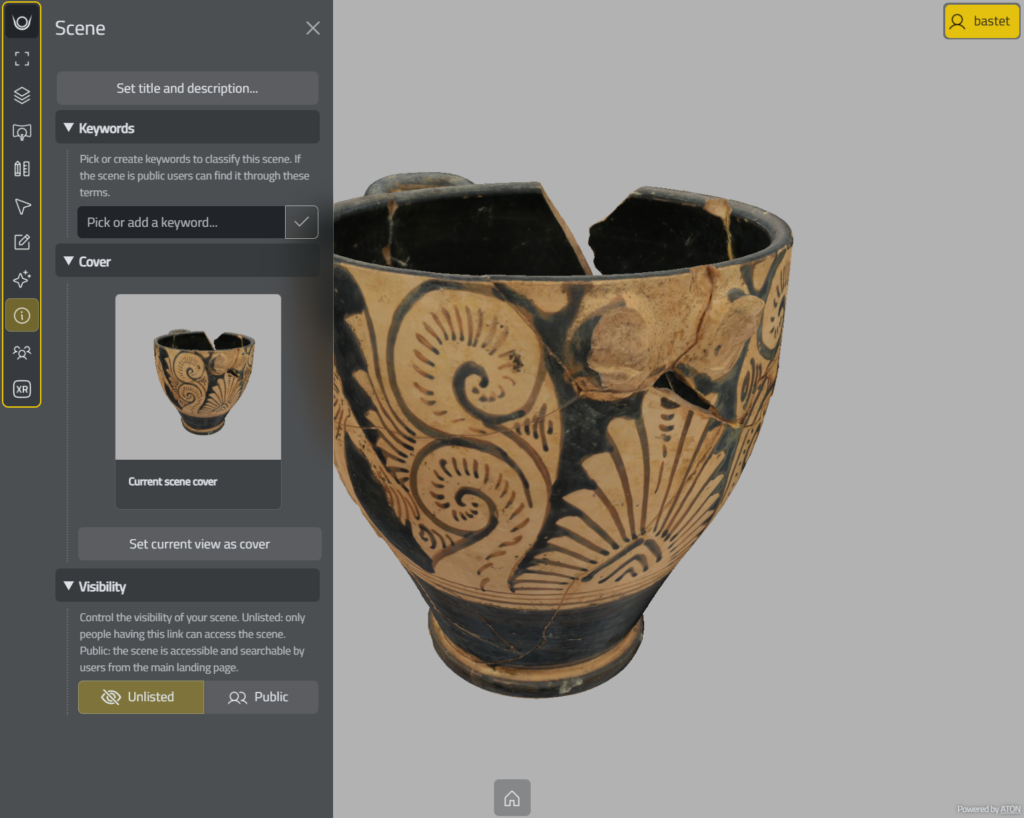
You can control the visibility of your scene from the corresponding section.
- Unlisted: only people having this link can access the scene
- Public: the scene is accessible and searchable by users from the main landing page
That’s it for a very basic publishing of a 3D model!